How to Clean and Restore Vintage Pez Dispensers Without Damage

What's the Best Way to Clean Old Pez Dispensers Without Hurting Their Value?
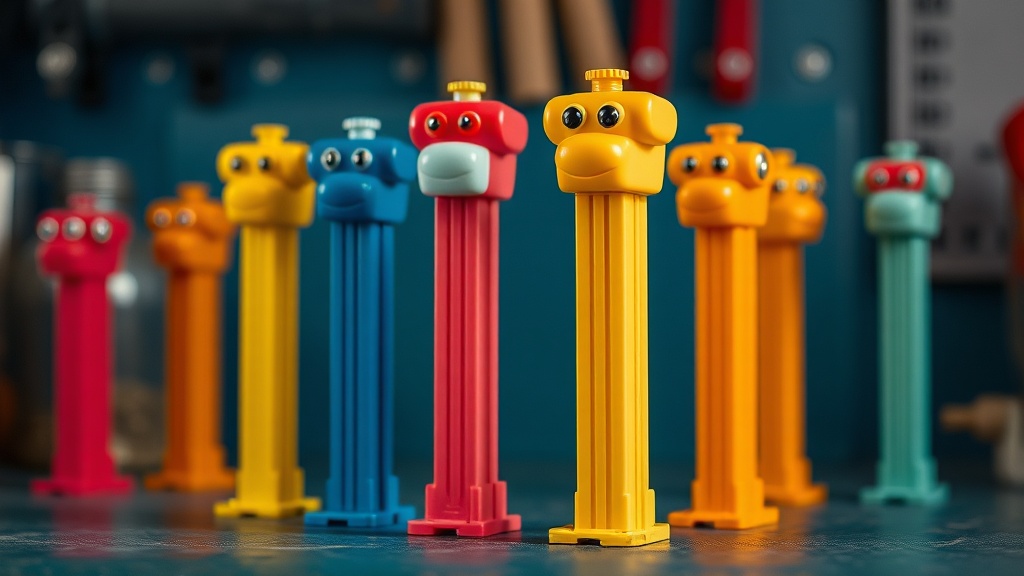
The best way to clean vintage Pez dispensers involves gentle, non-invasive methods that remove dirt and grime without altering the original paint, plastic, or metal components. Proper cleaning preserves both the aesthetic appeal and monetary value of these collectibles, which can range from a few dollars to several thousand depending on rarity and condition. This guide covers safe cleaning techniques, materials to avoid, restoration tips for common issues, and storage practices that keep dispensers looking their best for years to come. Whether you've just inherited a box of childhood favorites or you're hunting for gems at estate sales, knowing how to clean them correctly makes all the difference.
Pez dispensers have been around since 1927, though the familiar character heads didn't appear until the mid-1950s. Decades of attic storage, flea market bins, and toy box adventures leave these little pieces of history dusty, sticky, and sometimes grimy. The catch? Aggressive cleaning can destroy what makes them valuable—the original factory finish.
What Supplies Do You Need to Clean Vintage Pez Dispensers Safely?
You'll need basic household items plus a few specialty products designed for delicate collectibles. Most cleaning jobs don't require expensive equipment—just patience and the right approach.
The Basic Cleaning Kit
Here's what should be in every Pez collector's cleaning kit:
- Mild dish soap—Dawn Original works well (avoid antibacterial or scented varieties)
- Distilled water—prevents mineral spots
- Soft-bristled toothbrushes—new, never used with toothpaste
- Microfiber cloths—lint-free and gentle
- Cotton swabs—for detailed work around stem mechanisms
- Soft cosmetic brushes—makeup brushes work perfectly for dusting
Specialty Products Worth Having
For tougher jobs, a few specific products stand out. Meguiar's Quik Interior Detailer (used sparingly on a cloth, never directly on the dispenser) helps restore shine to faded plastic. Novus Plastic Polish comes in three grades—start with No. 1 for light cleaning, work up to No. 3 only for significant scratches. For metal springs and mechanisms, WD-40 Specialist Rust Release Penetrant can free seized parts, though you'll need to clean it off thoroughly afterward.
That said, start simple. Most dispensers only need soap and water. Over-treating vintage plastic causes more harm than good.
How Do You Clean Different Types of Vintage Pez Dispensers?
Different eras and materials require different approaches—what works for a 1970s soft head might ruin a 1960s vintage stem.
Regular Plastic Stem Dispensers (1950s–Present)
Most Pez dispensers fall into this category. Fill a bowl with warm—not hot—water and a few drops of mild dish soap. Hot water can warp vintage plastic. Remove the candy from the chamber (obviously), then submerge the dispenser completely.
Let it soak for five to ten minutes. This loosens dirt without scrubbing. Use a soft toothbrush to gently clean crevices—the base of the head, the stem grooves, the candy pusher. Rinse thoroughly with distilled water. Pat dry immediately with a microfiber cloth. Never air-dry; water spots on vintage paint are stubborn.
No-Feet Stems (1940s–1980s European Models)
Early dispensers lack the small "feet" at the base that stabilize modern versions. These are often more brittle. Skip the soak—instead, dampen a cloth with soapy water and wipe carefully. The metal pins connecting the head to the stem on these older models can rust if water seeps inside.
Soft-Head Characters (1970s)
The 1970s "Soft-Head" Pez—like the original Disney characters with rubbery heads—need extra care. The soft vinyl degrades over time and can become sticky. Don't soak these. A barely-damp cloth with a tiny amount of mild soap, followed by immediate drying, works best. For sticky residue that won't budge, a cotton swab with a trace of Goo Gone applied carefully (never on painted areas) sometimes helps—test on the underside first.
| Dispenser Type | Water Exposure | Best Cleaning Method | Risk Level |
|---|---|---|---|
| Regular plastic stems (feet) | Short soak okay | Warm soapy water, soft brush | Low |
| No-feet vintage stems | Avoid submersion | Damp cloth wipe only | Medium (brittle plastic) |
| Soft-head characters | Minimal—surface only | Barely damp cloth, immediate dry | High (degrading vinyl) |
| Metal-capped stems (rare) | Never | Dry brush, compressed air | High (rust, corrosion) |
Metal Parts and Springs
The internal spring mechanism sometimes sticks on vintage dispensers. Here's the thing—don't disassemble unless you're experienced. The metal pins are press-fitted and can break. Instead, work a few drops of sewing machine oil into the mechanism by pressing the head up and down repeatedly. Wipe away excess immediately. If the spring is visible rusted, that's a job for a restoration specialist, not a home cleaning session.
What Cleaning Methods Should You Never Use on Vintage Pez?
Avoid these methods entirely—no exceptions.
Dishwashers. The heat warps plastic. The detergent is too harsh. Springs rust. Just don't.
Bleach or harsh chemicals. They strip paint, yellow plastic, and leave residues that continue damaging the material long after "cleaning."
Abrasive scrubbers. Magic Erasers (melamine foam) act like fine sandpaper. They'll remove dirt—and the factory finish. Same for baking soda pastes, toothpaste, or scrub spong
Steps
- 1
Gather Gentle Cleaning Supplies
- 2
Disassemble and Clean Each Component
- 3
Dry Thoroughly and Reassemble